How to put in hair extensions
By Catalogs Editorial Staff

You can learn how to put in hair extensions but it may require a stylist
There are various methods of putting in hair extensions, but for the do-it-yourselfer, clip-in additions may be your best choice.
Clip-ins are popular because they are temporary — as well as easy to apply. The clip-in is attached via pressure sensitive clips attached to the addition. Your own hair is not damaged by clip-ins.
You can choose between human hair or synthetic clip-ins. Of course, human hair is superior but pricier than synthetic. You can wash human hair, use heat on it and style it, which you can’t do with synthetic. Hair aficionados recommend Remy human hair extensions because the hair is processed wtih the cuticles intact. This results in a healthy looking, shiny and tangle free product.
However, an advantage of synthetic hair is it isn’t impacted by weather. It’s not going to get frizzy. Synthetic additions typically last between one to three months before showing some wear and tear.
Weft
Some refer to a weft as a hair curtain because it has a curtain-like appearance. The wefts are generally long sections of hair, which are attached or glued to the scalp. Wefts are fastened to the scalp for temporary use but can be used repeatedly. You may need more than one weft to get the look you want.
~
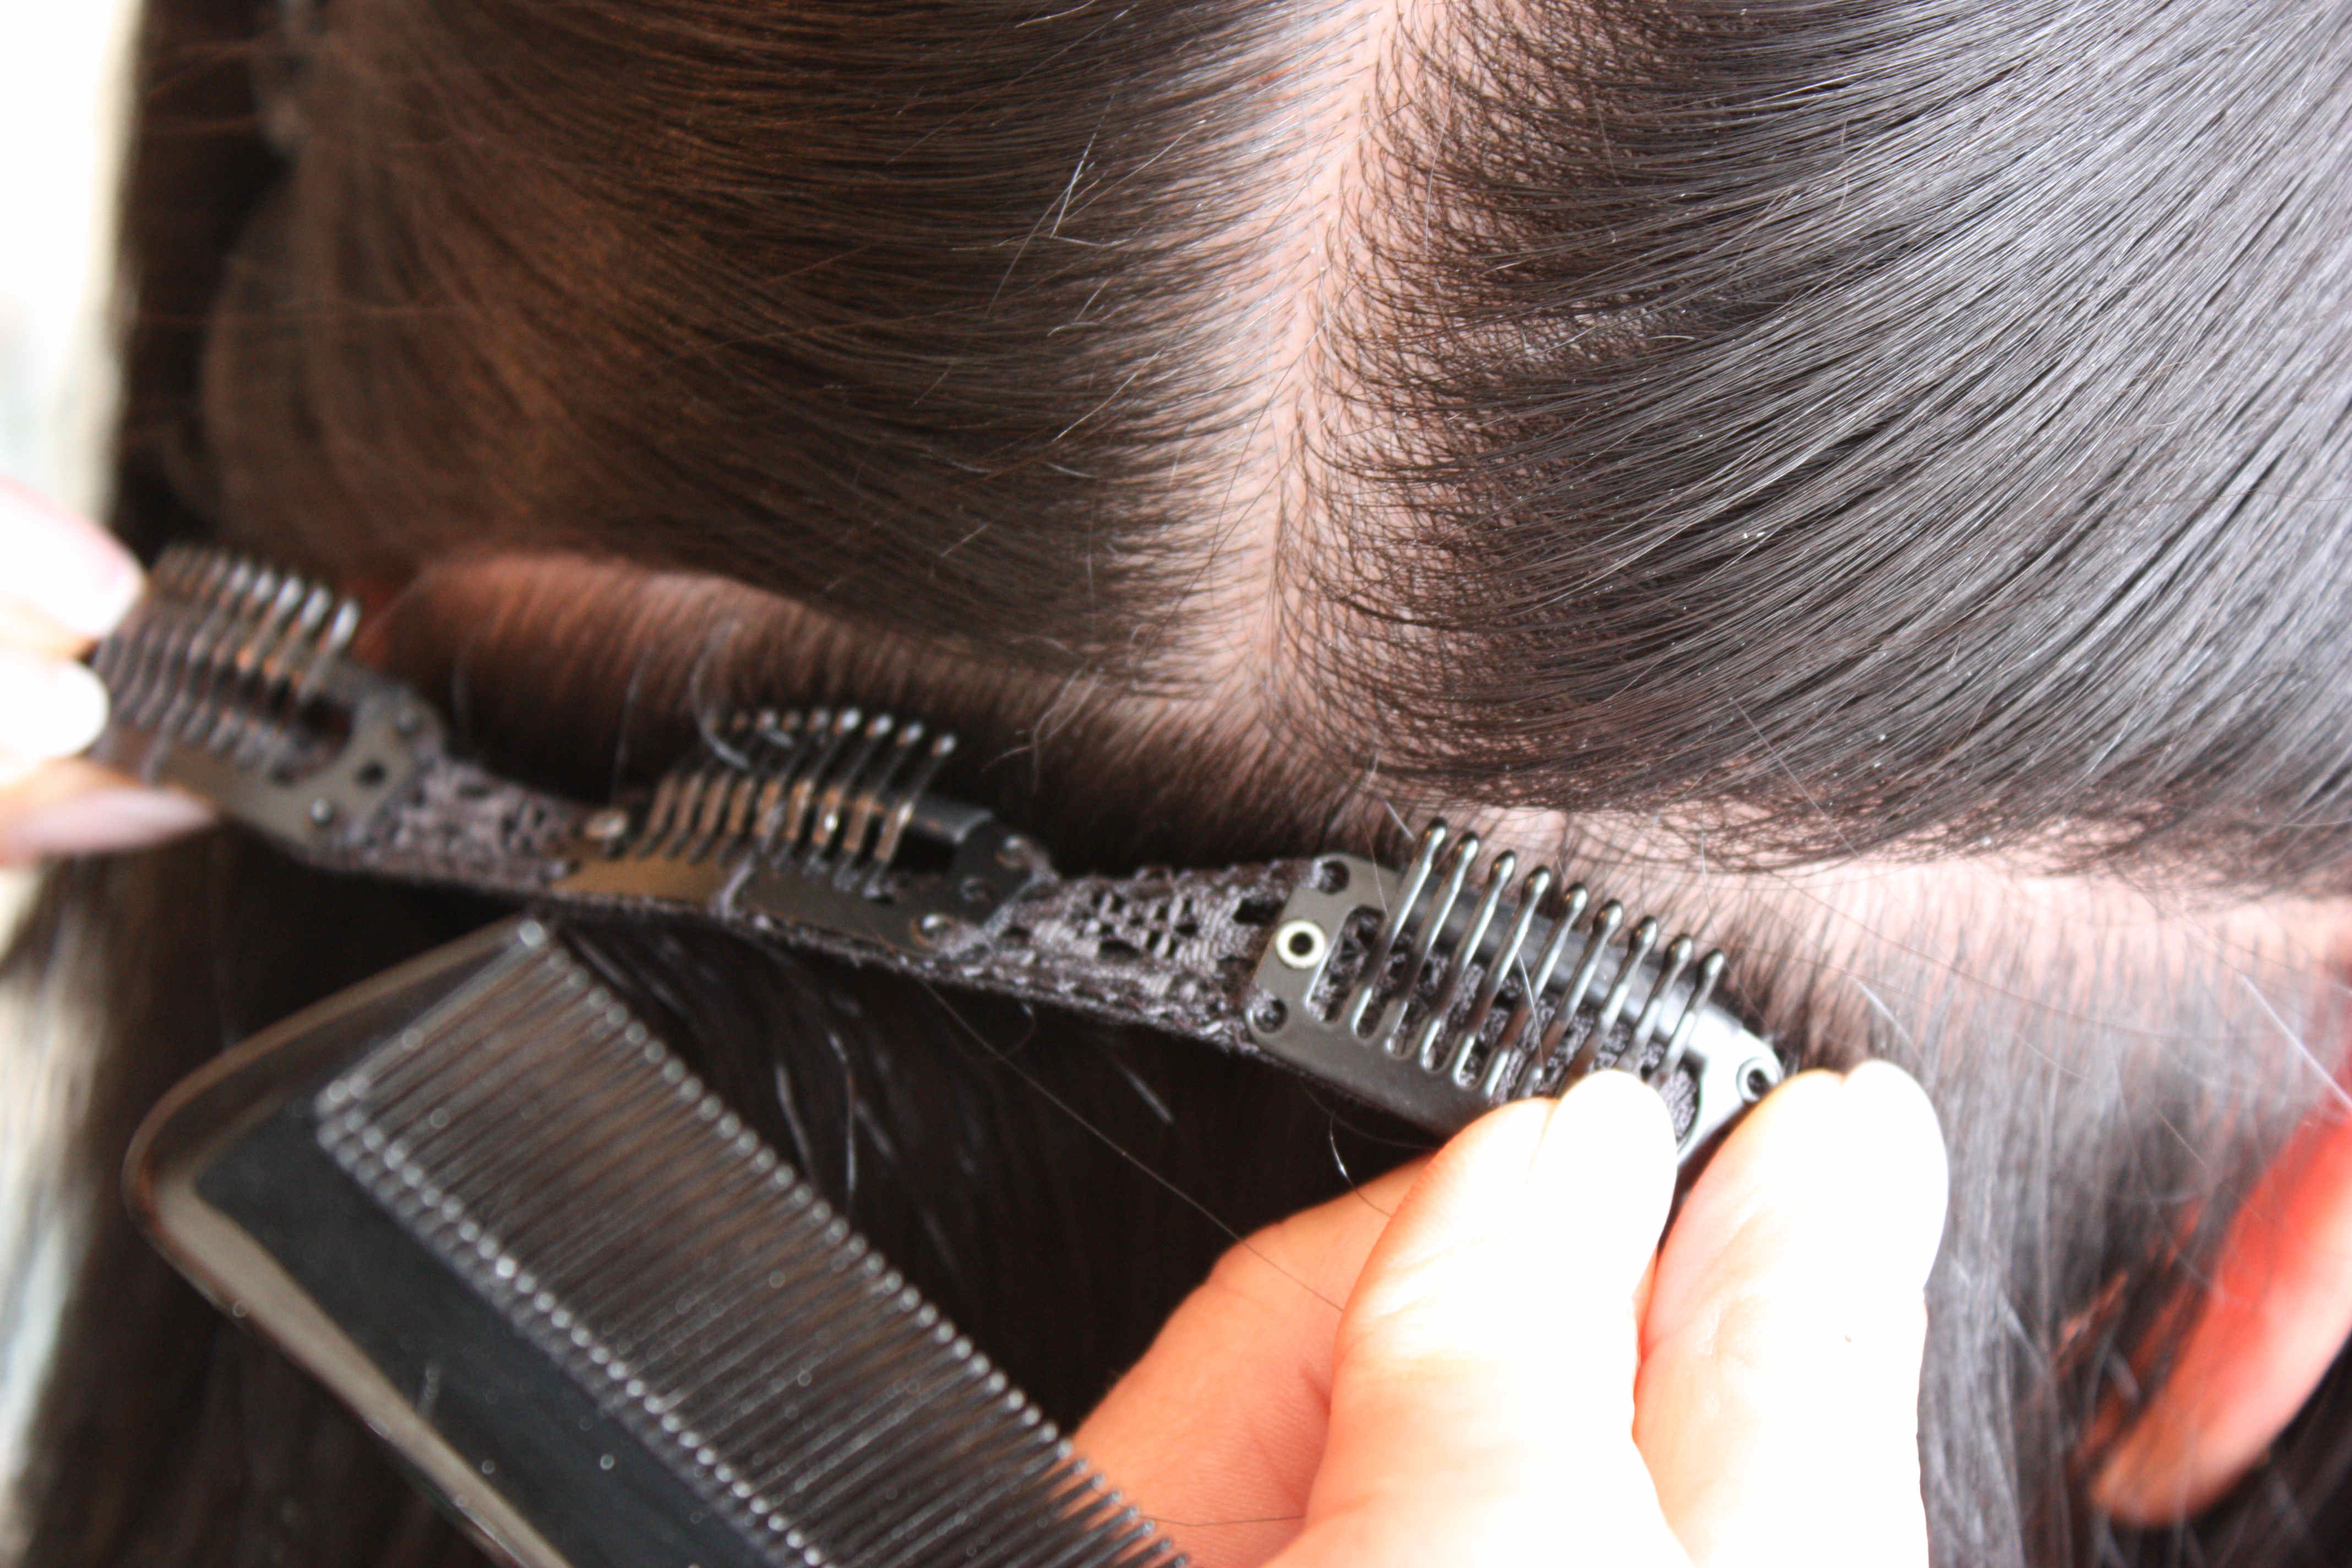
Part your hair horizontally starting approximately one inch from the bottom. Secure the upper part of the hair in a bun so it stays out of the way while you clip in the weft addition. Add the extension where you have parted the hair by opening the clip attached to the end of the hairpiece and putting it at the root of the hair at the scalp.
On a single weft clip-in, open up the clips, placing the comb downward, and then closing to the hair roots. After that, close the clips. If you are not happy with the results, open the clip before trying to remove or reposition the hairpiece.
Free the hair from the bun and make another horizontal part higher up. Put the remaining hair back in a bun so it stays out of your way. Add another clip-in. Continue upward in this fashion. If you want really full hair, you will use more clip-ins.
One way to attach the weft is gluing it to your hair. Hair extension glue is required. Apply the glue to the weft (hairpiece) and stick the addition to the root of your hair, close to the scalp. Do not put the glue directly on your scalp.
Warning
There is a concern the glue contains potentially hazardous chemicals so some choose not to employ this option. Instead, you can purchase double-sided tape adhesive, which lasts up to two weeks. This type of clip-in consists of a flat strip of hair featuring double-sided tape on the back. Pull off the paper backing and stick the extension to the roots of your hair.
If using a handmade hair weft, it may require a skin weft application, which is achieved through the use of a skin weft sealer tool. There are weft removal products as well.
After the additions are attached to your hair, test them. Move your head around. Are they staying attached? Brush or comb your hair. Is everything staying in place?
Other Techniques
There are various ways to put in hair additions but some require the skill and expertise of a stylist. If, for example, you want micro links (copper tubing or rings,) a hairdresser needs to do this for you.
Fusing is yet another method using an adhesive to attach the extensions to your real hair. A wax adhesive is used.
When long additions are attached, bonding is generally required. It involves using an adhesive.
Weaving definitely requires the services of a professional because the extensions are sewn into the real hair.
Popular Savings Offers


.png)
.png)
.png)
.jpg)